
Trying to demonstrate how to do data augmentation on the KITTI stereo dataset, I found myself diving (too deeply) into Blender 3D.
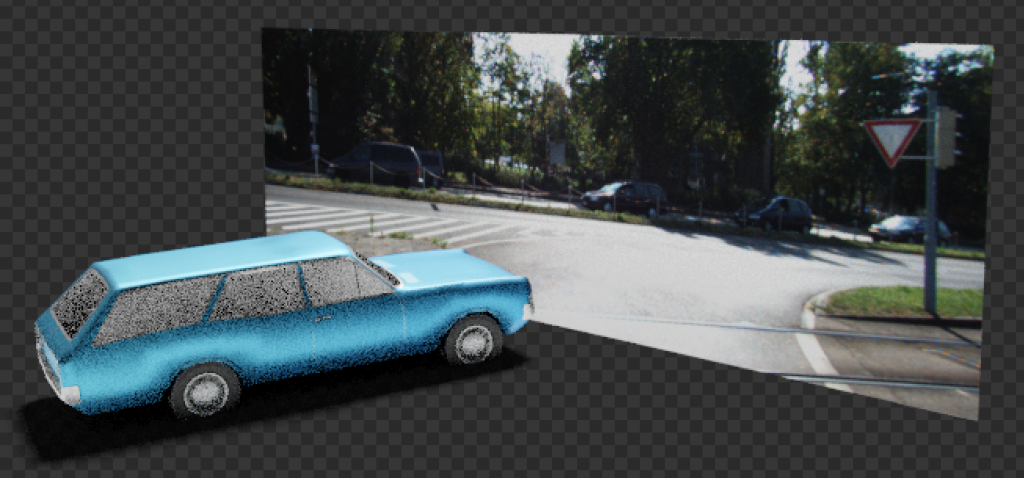
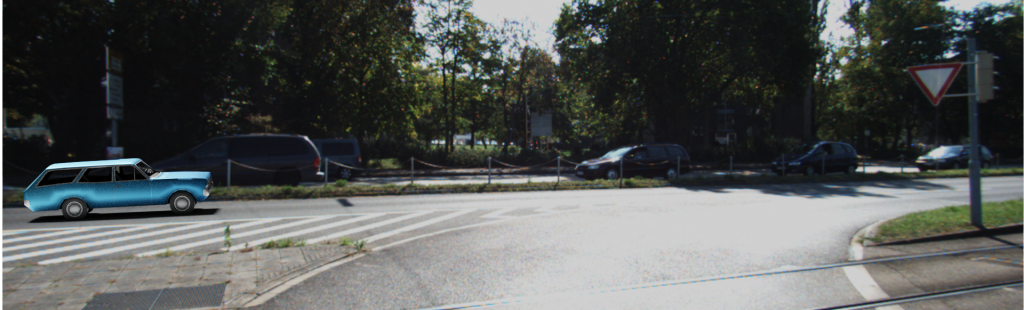
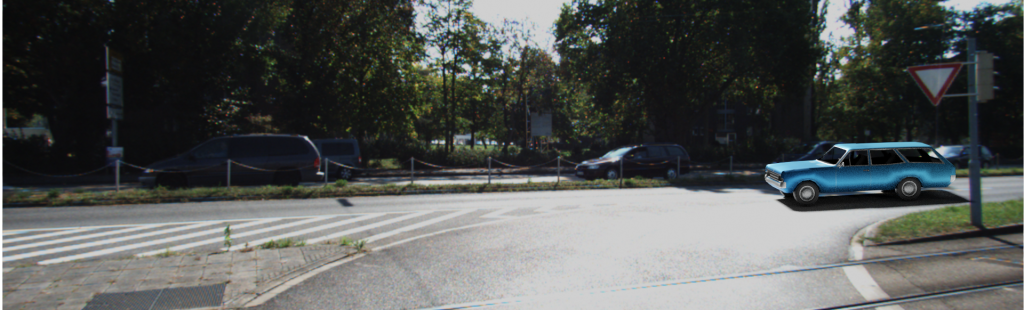
What I set out to do is add a 3D object to an unsuspecting image from the KITTI dataset, to show that one way to get more training data is by synthesizing. I just put a 3D object in front of an image (say a 3D plane with the image as the texture) and done ✅ – I’ve augmented the image. Turns out it needs a bit more of Blender trickery. This is the real reason for this post.
I love Blender, but if I don’t use it often I forget everything I knew. Also Blender have the tendency to completely change their approach with each minor release. I was used to Blender 2.7x, then in 2.8x things moved around and in 2.9x – I can’t find anything anymore, it’s like a new program. But enough with the ranting, we’re here to learn.
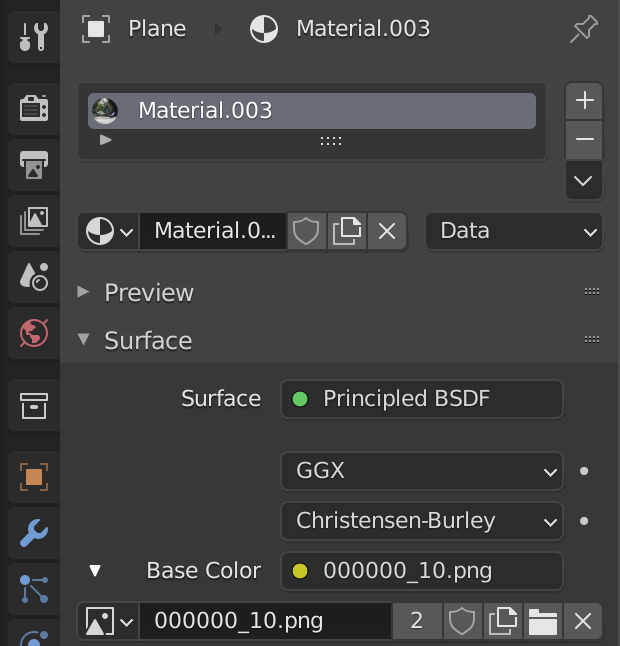
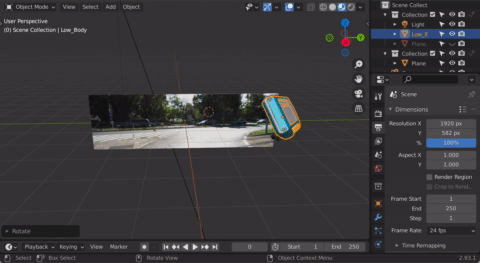
First thing, putting an image as the background. I first used an “Empty” with an “Image”, but that didn’t show up in renders, so I ended up with a “Mesh-Plane” with a material and a texture. You’ll notice this is a KITTI image.

I couldn’t get the sun light to not light this plane, and it was shadowed, so I worked around this by adding the image again as an emission:

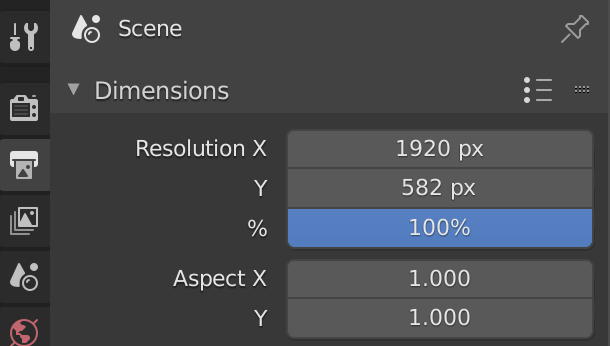
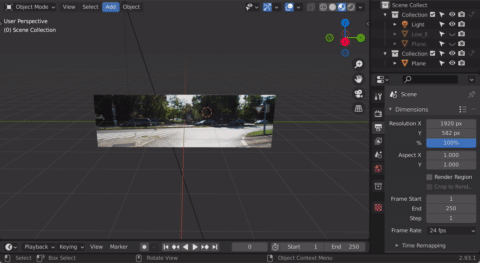
I had to line up the camera to cover exactly the KITTI image in terms of rotation and position. The image also has a very wide angle aspect that required me to modify the camera’s resolution: (don’t touch aspect ratio)
Using the viewpoint → camera view is the best for these situations:

Adjust the camera so that it covers the image precisely:
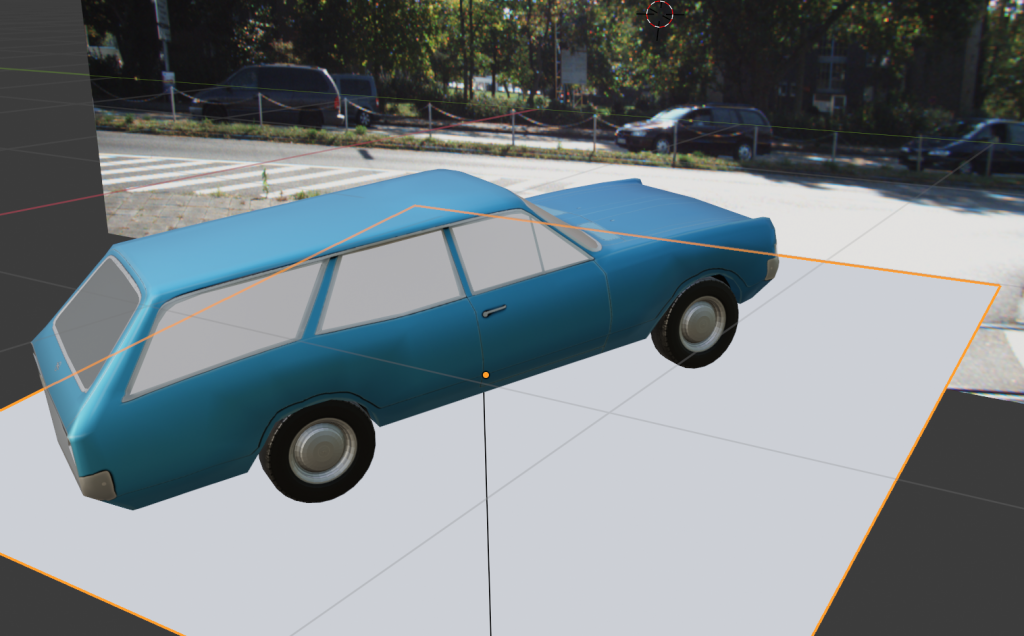
Then I got a car from TurboSquid free models: https://www.turbosquid.com/3d-models/3d-low-poly-car-opel-rekord-caravan-1967-model-1767474
Thanks TurboSquid!
And added its COLADA export to Blender. I also had to add the PNG textures manually to the different parts (“body” and “interior”), but thankfully the COLADA object retained the UV map so it was a breeze. For example:

Now it was just about positioning the car so it makes sense with the scene:
Next up was getting the car shadows to come up properly. I did a bunch of research and trial-and-error, and came up with the following method.
I made a plane to catch the shadows, but I also needed the plane to be transparent so that it looks like to shadows are on the road image.
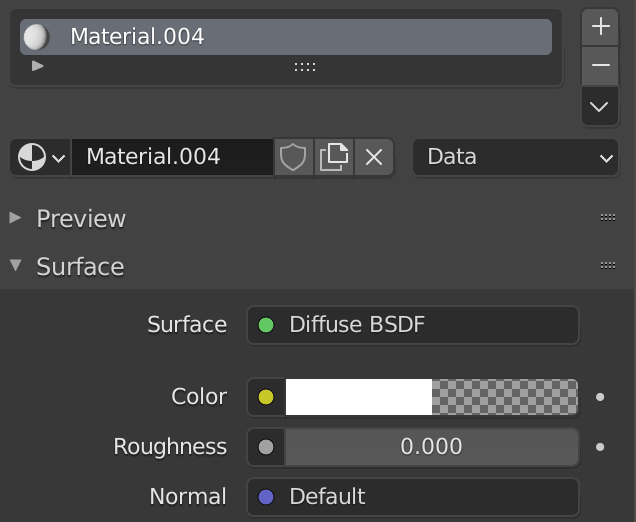
The trick is to make the plane material transparent:
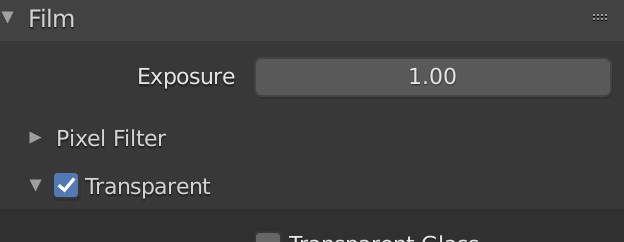
I used “Cycles” engine and enabled the “Film”‘s “Transparent” option in “Render properties” pane:
The plane needs to be a “Shadow Catcher”:
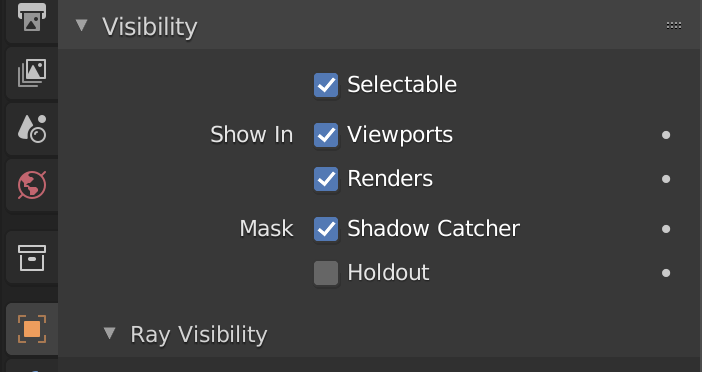
Consider “Ray Visibility” as well:
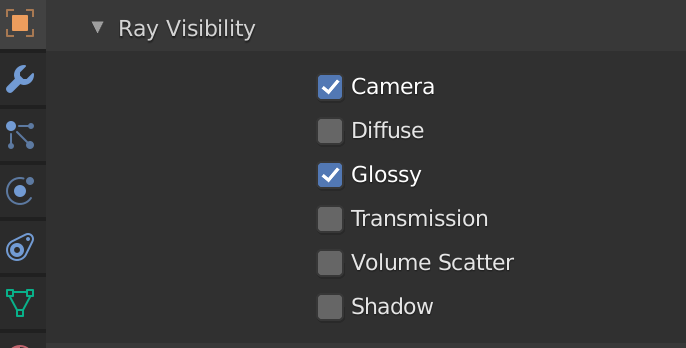
Turning off “Glossy” means the car won’t reflect the light from the surface, which is unrealistic:
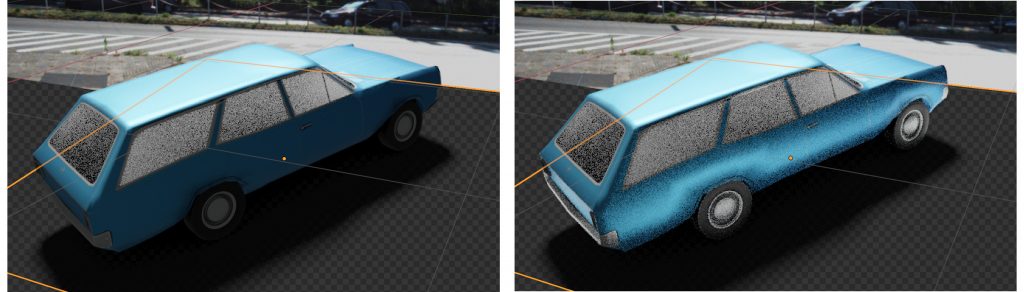
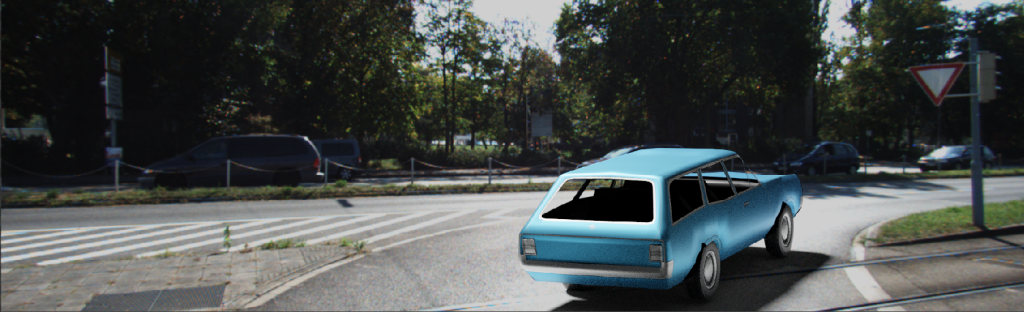
If I render at this point it looks very strange:
Somehow the transparent plane, while catching the shadows just fine, is not really transparent and actually hides the image in the back. WTH
It took a little bit more trickery to get it going.
I had to add the back image to another “View Layer” (called “View Layer.001”) through a collection, and keep the other objects excluded from this new View Layer. In the main View Layer I enabled the back image plane, but made it “Indirect”:
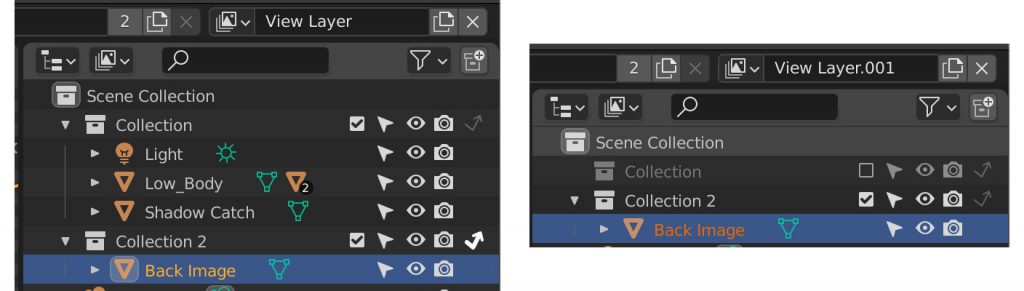
OK but the work is not done. Now the renderer can render the car with shadows and transparency in one view layer, but it renders the back image in another view layer – and doesn’t compose the two view layers automatically.
This is where “Compositing” node come into play. I fiddled around with nodes until I found this configuration:
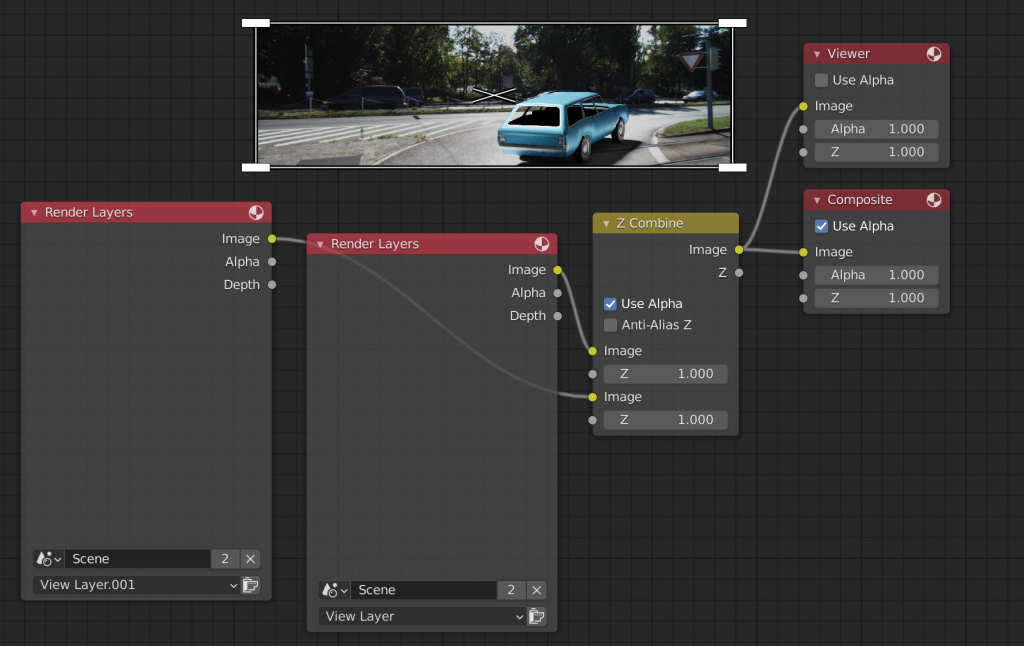
I’m using “Z Combine” (IDK why but it’s the only thing that worked), putting the two View Layers into it and “Use Alpha”. It blends the views together. I have a viewer there just to be able to see what’s going on. The Z Combine is outputting to the final Composite.
When I render I can see the car and transparency render, then the back image, then the composite puts everything together.
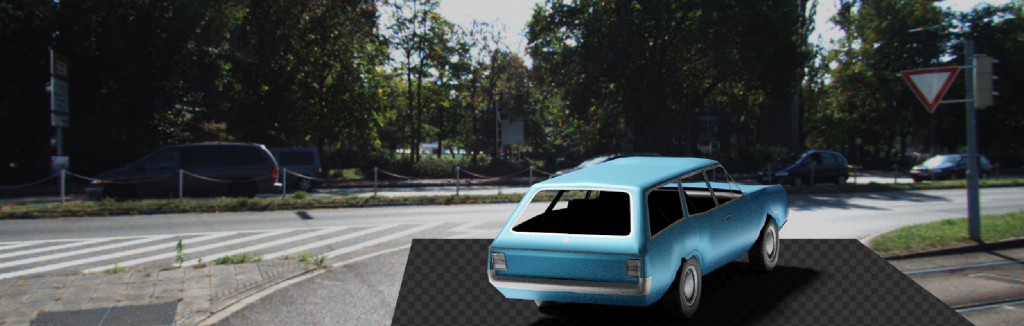
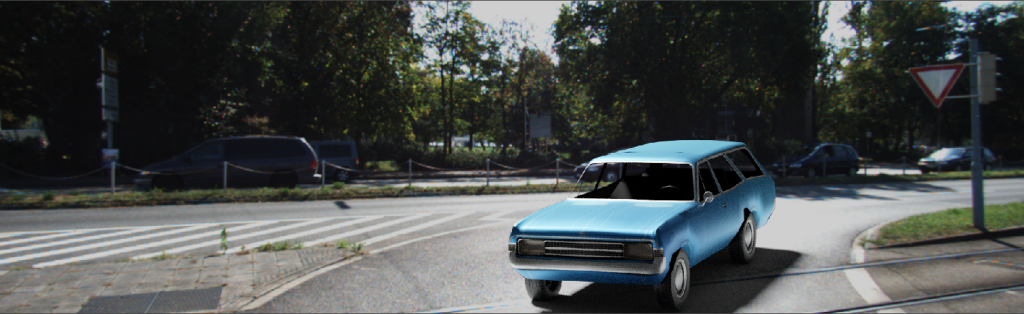
The final result is pretty darn neat! And pretty realistic…
Beep Beep!
Roy.